
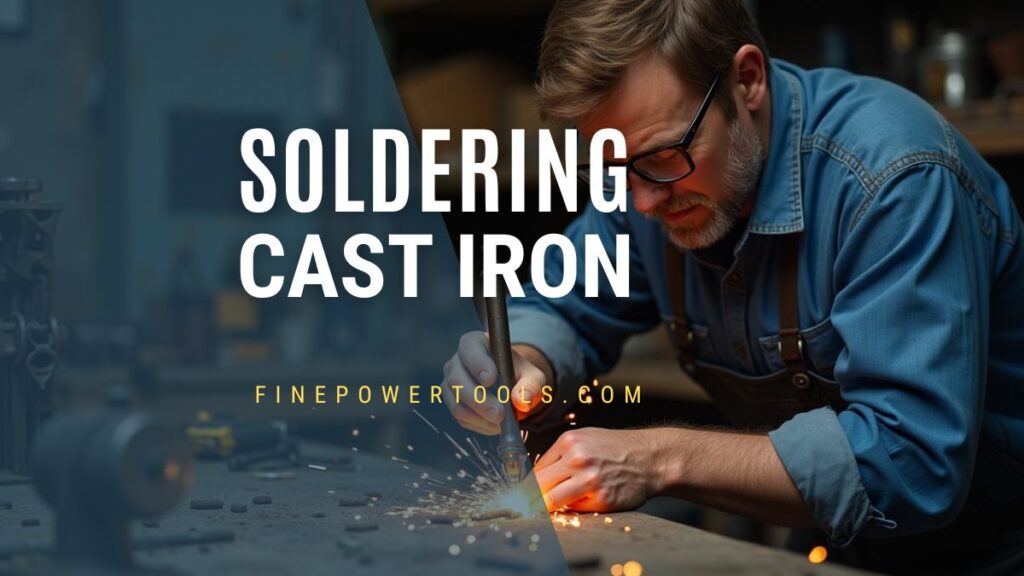
Soldering cast iron is considered by many an impossible task. However, with the right technique and tools, it’s doable, and it can be of great help when, for example, you don’t have a welding machine available. In this article, I will tell you how to solder cast iron and what tools you need to do the job.
Can You Solder Cast Iron?
Regular tin-lead solder doesn’t stick to cast iron as easily as it would to other metals. However, with the aid of special flux, proper parts cleaning, preparation, and some patience, it’s possible to achieve a good joint. And, if you replace tin-lead solder with silver solder, the joint’s strength increases radically.
Why is cast iron so difficult to solder?
Cast iron is difficult to solder because of its high melting point and quick heat dissipation. When soldering, you must heat the workpieces enough so that the solder can flow freely between the contact area to create a stable joint, and it’s hard to heat cast iron with a soldering iron.
Besides, cast iron tends to have a rough surface and oxidates quickly, which prevents solder from properly bonding to the surface.
Overcoming the Challenges
Overcoming the challenges of soldering cast iron is not as difficult as it seems. The key is to choose a powerful, high-wattage soldering iron capable of achieving and maintaining a good amount of heat to keep the workpieces hot for enough time so that the solder can be melted properly.
It’s also fundamental to choose a suitable flux, like the “cast iron flux”, which is specially designed for working with cast iron and can withstand higher temperatures than rosin flux and offers better adhesion.
Another crucial step is to prepare the surfaces properly to ensure the solder flows effectively over the surfaces to be soldered, creating a reliable and strong bond between them.
In the end, soldering cast iron is a combination of patience and good soldering skills, as you are about to see.
How to Solder Cast Iron?
Suppose you want to join two cast iron drain pipes using solder. Below, you will find how to do it.
Tools Needed
- Sandpaper or a wire brush
- Cast iron pipe cleaner
- Liquid Flux, preferably Cast Iron Flux
- High-wattage soldering iron (at least 100W)
- Chisel or wide tip
- Tin-lead solder
Cast Iron Soldering: Step-by-Step Guide
- Preparation: Clean both pipe ends using a sheet of fine grit sandpaper or a wire brush to remove rust, debris, and other impurities that may affect the solder’s flow and adhesion.
- Applying Flux: Apply flux to the ends of both pipes to help the solder flow over the pipes, improve its bonding, and remove any remaining rust.
- Joining the Pipes: Position the pipes in place, ensuring they are correctly aligned. Use clamps or a vise to hold them if necessary.
- Heat the Pipes: Use a high-wattage soldering iron with a chisel or broad tip to apply enough heat to melt the solder.
- Apply Solder: Apply solder directly over the joint, not on the soldering iron’s tip, allowing it to melt and flow into the gap between the pipes.
- Cool Down: Allow the solder to cool down without moving the pipes to ensure a reliable connection.
- Inspect and Test the Joint: Inspect the joint carefully for any visible gaps or imperfections. Then, test the connection by running water through the pipes to detect any leaks.
*For a stronger connection, you can use a .125” silver solder; however, you will need to use at least a 200W soldering iron to melt it properly. If you choose to work with this solder, you don’t need to change anything in the guide above.
Warning: Avoid soldering cast iron skillets, pans, or other kitchen utensils. Soldering can release harmful chemicals, like lead, from the solder or flux, which may contaminate food. Also applying heat may cause further damage or cracks to the cookware, making it unsafe to use.
You could weld cast iron, but honestly I would buy new one to be safe.
Soldering Copper to Cast Iron
Sometimes, you may need to add a copper fitting to a cast iron pipe. In that case, you can follow the guide above. Consider using rosin-free flux, tin-antimony solder, and a high-wattage soldering iron (200W or more) for a stronger and more reliable connection.
Safety Considerations
Safety Gear: Wear safety glasses or goggles and heat-resistant gloves to protect your eyes and hands from any splattering solder, flux, or debris.
Fire Safety: When working with a hot soldering iron, ensure the area is free from flammable materials or fumes that could cause a fire due to the heat. Have a fire extinguisher near the working area.
Ventilation: Work in a well-ventilated area to prevent inhaling fumes or gases produced during the soldering process.
Environmental Awareness: Responsibly dispose of used solder, flux, and waste materials in compliance with local regulations for hazardous waste disposal.
In this article, you will find a thorough guide to safe soldering practices .
Things to Remember
Soldering cast iron using a soldering iron and solder is possible by following the steps described in this article. Remember that thorough cleaning, proper preparation, a high-wattage soldering iron, and the right flux are essential for achieving positive results.
Doing the job with a 100-watt soldering iron requires time, patience, and practice, but it’s effective for emergency repairs or occasional use. If you plan to solder cast iron or cast iron and copper frequently, you should consider buying a special soldering iron (200W or more) or a propane blow torch to help you work faster and hassle-free.
It’s also essential to follow safe soldering practices, plan ahead, and take your time when soldering to prevent accidents and injuries.
When working with pipes carrying drinking water, consider using lead-free solder to avoid the risk of lead poisoning. This solder has a higher melting point than tin-lead solder, so I recommend you use at least a 150W soldering iron when using other than tin-lead solder.
Back to Contents

David Castillo is an automotive industry expert specializing in vehicle electronics and stand-alone fuel management systems. He has over 20 years of experience and owns a car repair garage and tuning shop.
David still runs his shop but is now more focused on pre-purchase car inspections and writing for FinePowerTools.