Soldering is one of those activities where “practice makes the master”; however, it’s important to be aware of some techniques that can help you develop your skills. As you earn experience and get involved in more advanced projects, knowing some basic concepts can help make your learning curve steeper.
Soldering Techniques on this Page..
Let’s get started!
Wire Soldering Basics
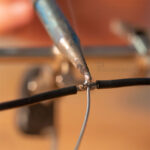
Soldering wires may not seem difficult, and it shouldn’t be, but that doesn’t mean there isn’t a proper way to do it. It’s essential to ensure a proper electrical and mechanical connection between the wires and to avoid solder to alter the wires’ resistance.
Soldering wires properly requires creating the best joint without covering them excessively with solder.
How To Solder Wires Properly
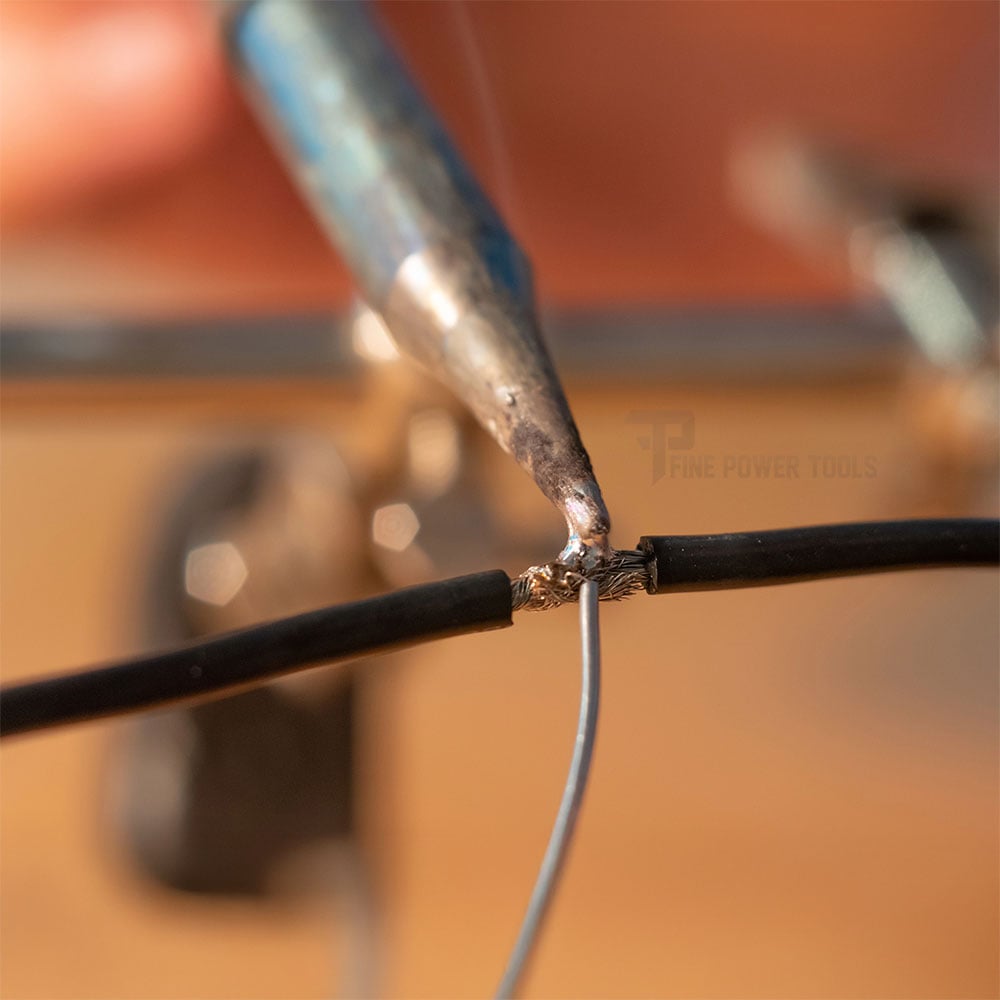
All the above being said, let’s take a look at how to join two wires together using solder.
Tools Needed
- A Wire Stripper: This tool is the right one for preparing the wires before soldering. If you don’t have one at hand, you can carefully use a pair of clippers or a wire cutter.
- Flux Cored Solder Wire: When possible, use 60/40 lead-based solder with rosing core. Never use acid-core solder, as it’s harmful to the wires’ strings. Lead-free solder is also good, but remember it has a higher melting point than lead-based solder and can make the job slightly more difficult.
- Soldering Flux Paste: This item is optional, but if you aim for perfection, this element is key to ensuring excellent results.
- A soldering iron: Choose a soldering iron that can produce enough temperature to melt the solder.
- Heat Shrink Tubing or Electric Insulation Tape: Heat shrink tubing is perfect for insulating the connection, protecting it from moisture and contamination, and achieving a perfect finish. Electric tape also works, but it takes more work to achieve a professional finish.
Wire Soldering: Step-by-Step Instructions
- Cut and Strip the Wires: Use the wire stripper or a pair of clippers to cut the wires and strip the insulation from the ends you will be joining.
- Heat Shrink Tubes (Optional but Recommended): Heat shrink tubing is the best way to insulate and protect the connection. If you choose to use this method, don’t forget to slide a section of heat shrink tubing of an adequate length over one of the wires and leave it as far from the tip you will be soldering as possible to prevent it from shrinking by the heat of the soldering iron when soldering.
- Splice the Stripped Wires Together: There are two methods for this, depending on the application.
- For small wires or applications where you need to create a connection with consistent or minimal electrical resistance (for example, sensor or data connections), first, open the wire strands and join them. Then, carefully twist both ends until the wires’ combined thickness is smaller than the insulation.
- For standard electrical applications and high-voltage wires, you can use the following traditional method:
Overlap the stripped tips of the wires to form an “X”. Twist both ends, ensuring they wrap around the rest of the wire. Avoid twisting them upwards, creating unnecessary thickness that can generate extra resistance and electrical disturbance, leading to cold joints and other problems. - Apply Flux (Optional but Recommended): Apply rosin paste flux to the exposed wires. This will help solder wetting and improve its flow over the wires, making them easy to solder and resulting in a stronger connection.
- Heat the Wires: Carefully heat the wires with your soldering iron tip without overheating them. Depending on their thickness, one or two seconds are usually enough.
- Apply Solder Over the Wires: Add solder to the exposed strands only. Rotate the wire to ensure you don’t leave any uncovered areas. Keep the wires heated to ensure solder is melted correctly and avoid cold joints.
A common mistake is applying solder to the soldering iron’s tip, which results in soldering defects such as excessive solder, blobs, etc. - Cool Down: Once you finish soldering, let solder cool down without moving or putting any strain on the wires before the solder hardness. This will prevent air gaps, which can result in cold joints and potential cracks over time.
- Insulate the Connection: Once the joint has cooled down, it’s time to insulate it. If you are using heat shrink tubing, slide it over the exposed strands and heat it using a lighter, a heat gun, or by bringing the hot soldering iron close to the tube without touching it.
If you aren’t using heat shrink tubing, apply electrical tape over it, making sure not to leave any portion of the wire without insulation.
PCB Soldering Essentials
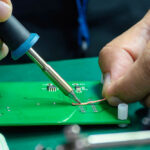
PCB soldering consists of creating a solid mechanical bond between the components and the board and a reliable and effective electrical connection.
A proper soldering technique is fundamental to avoid defects that can lead to malfunctions, parts loosening, or even catastrophic failure. In circuits involving microprocessors where high-speed data transfer is essential, the joints must be perfect to ensure optimum speed.
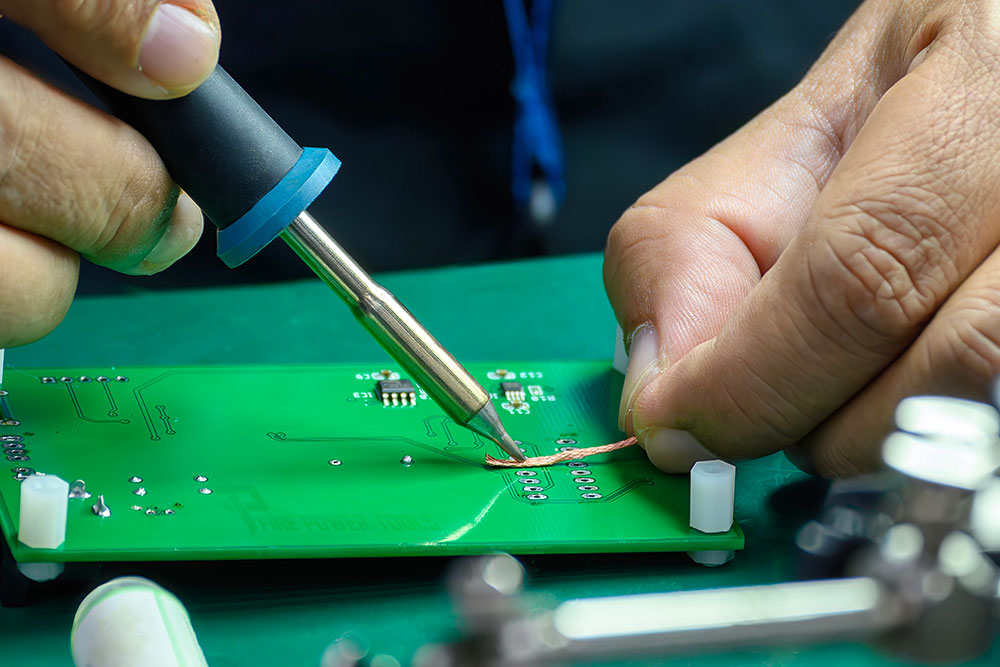
Below, you will find step-by-step guides for effectively soldering through-hole and SMD components, achieving perfect joints, and making them visually appealing.
PCB Soldering Important Considerations:
To achieve the best results in both through-hole and SMD soldering, you should keep in mind these important considerations:
- Soldering Tool: If you will be doing a lot of PCB soldering, investing in a soldering station with temperature control is my best advice. You don’t have to spend a lot of money; it will help you achieve good results faster and avoid lots of frustration. Besides, temperature control is essential for SMD soldering and working with delicate components susceptible to temperature.
- Soldering Iron’s Tip: Keep your soldering iron’s tip clean and tin it after every soldering session.
For simplicity purposes, I won’t mention all the different types here; just the thin, sharp one that comes with the tool. However, it’s good to know that as your expertise grows, you will consider using different types of soldering tips depending on the component and pad’s size. - Solder Type: Solder wire is the solder to use for through-hole boards. When possible, mostly in your first projects, use lead-based 60/40 rosin core solder. This alloy is easy to work with because it has a relatively low melting point and wets and flows better than lead-free solder.
Besides, lead-based solder doesn’t need extra flux; in some cases, it might need some extra flux, while lead-free solder always requires some extra flux, making the process more complex.
Some complex SMD components can’t be soldered or are difficult to solder using solder wire. In those cases, you will have to use soldering paste. - Solder Wire Thickness: Use solder wire that matches the size and diameter of the connectors, pins, and holes of the board you are working with. Solder wire for electronics usually comes in diameters from 0.5 to 1.5 millimeters. It will take some practice to get used to finding the right size for every component. Still, it’s good to consider that an excessively thin wire may help to solder starvation and weak joints, and too thick may cause soldering bridges, component or board overheating, or even cold joints.
As a piece of advice, start using 1mm solder wire, and practice will help you determine the right thickness for each case when working with through-hole PCBs.
When working with SMD boards, use 0.5mm solder wire straight away or soldering paste to prevent bridging or damaging the components. - Extra Flux or Not? While flux is excellent for improving solder flow and its wetting properties, when working with through-hole components and using lead-based rosin core solder, you don’t need to worry about using extra flux. However, flux becomes essential when working on SMD projects or using lead-free solder.
- Keep it Clean: Ensuring the workpieces are clean and free from dust, debris, grease, and contaminants before soldering can make the difference between failure and success.
Always start by cleaning the PCB, components, and other workpieces. After soldering, use isopropyl alcohol to remove flux residues left by the solder’s rosin or any extra flux you applied, as, besides aesthetics, it can cause oxidation and circuit damage over time.
Through-Hole Soldering
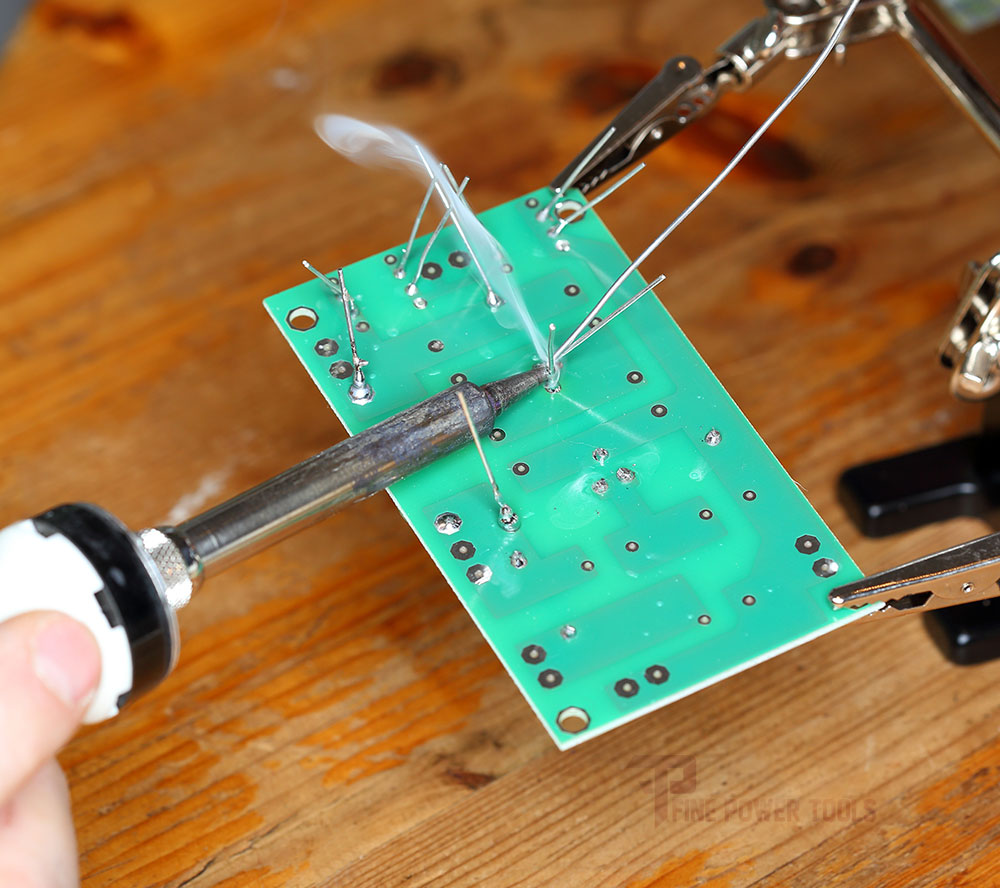
- Before starting, ensure that the surfaces you plan to solder are free from contaminants or debris. You can use isopropyl alcohol to clean the PCB, mostly the soldering pads and the pins of the component you are about to solder.
- Turn on your soldering station and set the temperature between 300°C and 350°C (572°F and 662°F, respectively) for lead-based solder and between 320°C and 375°C (608°F and 707°F, respectively) for lead-free solder. If you use a standard soldering iron, give it enough time to heat up.
- Position the components in place, and when you are not using sockets or soldering parts that should be in contact with the board, such as resistors, try to align them as parallel to the PCB as you can. When soldering sockets and other elements, you can use masking tape to secure them onto the board and prevent them from moving while you solder.
- Put the soldering iron’s tip simultaneously in contact with the soldering point or pad and the component’s lead for a few seconds. Heat both components together, applying the solder over the soldering pad and not on the soldering iron’s tip. This is the correct way to solder components and prevent soldering problems such as cold joints, excess solder, etc.
- Apply enough solder to ensure a solid electrical and mechanical connection. Sometimes, you might need to add extra solder to strengthen the mechanical bond, especially when soldering large or heavy components like heatsinks or big capacitors.
- Inspect the solder joint you created to ensure you applied the right amount of solder. The hole must be filled, and the solder must look shiny, forming a conical shape. Apply more solder if the hole looks hollow, and remove excess solder if you notice a mistake like a soldering bridge or excess solder.
- If the component’s lead emerges from the solder joint, trim it gently to avoid potential shortcircuits or bridges.
- Once the joint looks perfect, move on to the following lead, and before moving to the next component, clean the area to remove the rosin flux residue of the solder to achieve a perfect and professional-looking result. You can use isopropyl alcohol or a high-quality flux remover.
SMD (Surface Mount Device) Soldering
This guide covers everything you need to know to solder basic SMD components using a soldering iron. I will cover how to solder more complex elements that require using a reworking station or hot air gun in a future entry.
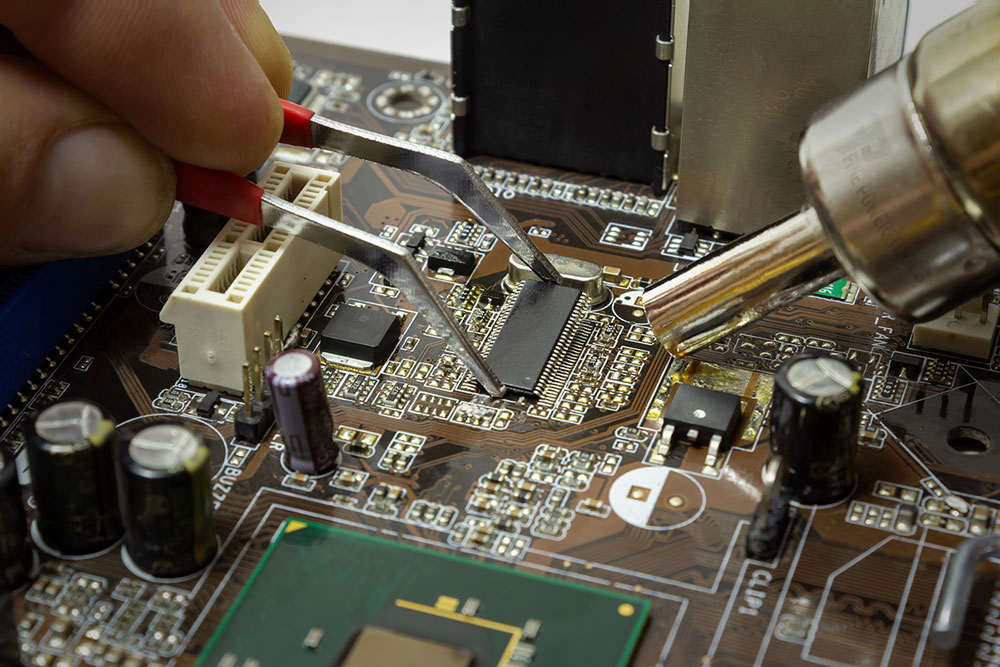
- When working with SMD circuits, cleaning the board and components before soldering is more important than ever. Ensure that the surfaces you will solder are free from contaminants or debris. Use isopropyl alcohol to clean, and let it evaporate or dry it before starting to work.
- Secure the PCB using masking tape or an accessory like a free-hands-helper or a board holder to prevent it from moving while you work.
- Apply some flux to the SMD pads on the PCB where you will be soldering the component. When working with SMD technology, flux is essential to enhance solder flow, wetting, and prevent soldering bridges.
- SMD components and boards are more heat-sensitive than through-hole ones. Even with 0.5mm solder wire, you will have to apply enough heat to melt the solder. Turn your soldering station and set the temperature between 300°C and 350°C (572°F and 662°F, respectively) for lead-based solder and between 320°C and 375°C (608°F and 707°F, respectively) for lead-free solder.
- Use tweezers to put the SMD component in place. Ensure to align the component’s contacts with the pads so that they sit perfectly.
- When you are taking your first steps in SMD, it’s better to secure the components to prevent them from moving. There are different ways to do this, from using masking or electrical tape or soldering one of the pins to the board as a guide.
- Use a thin soldering iron tip to avoid contacting two pads at the same time. Let the soldering iron heat the soldering pad and the component’s lead simultaneously for one or two seconds. Then, apply the solder by touching either the pad or the component’s lead, avoiding touching the soldering iron’s tip directly.
You don’t need to use much solder, so you have to do it quickly to remove the solder wire on time before it overflows the soldering pad. - Inspect the joint you just created to ensure you applied the right amount of solder. Ensure that you only covered the pad and lead that you meant covering and fix any soldering bridge or other soldering defect before moving on to the next lead.
- Once the joint looks perfect, move on to the following lead. After soldering all the leads, clean the area to remove the rosin flux residue for a neat result and to avoid future oxidation that can be caused by it. You can use isopropyl alcohol or a high-quality flux remover.
Key to Success
In this guide, you learned the basics of soldering, and now you are ready to solder wires, through-hole, and simple SMDs confidently and error-free.
The secret is to apply solder to the components and not to the soldering iron’s tip to prevent most soldering defects, such as cold joints, excess solder, and creating balls, instead of beautiful shiny and conical joints.
Now, it’s up to you to practice, and you will discover that by following these simple steps, you will be able to work efficiently and proficiently in most applications. Remember to keep your soldering iron clean while you solder and to clean it and tin it after every soldering session to extend its lifespan and make your soldering experience smooth and enjoyable every time you work.

